
You know those photos that sit in your gallery like digital ghosts—grainy vacation shots, dimly lit birthday selfies, or that one vintage scan that looks like it was taken through a potato lens? Yeah. We all have them. And while your instinct might be to delete and move on, what if you could resurrect them instead?
Enter Pippit, the creative suite that turns ‘ugh’ into ‘whoa’ with a few clicks. Whether you’re sprucing up a personal memory or prepping throwback content for social, Pippit’s image enhancer tools are designed to smooth out noise, sharpen texture, and find clarity in the blur. (And bonus—if you’re working on multi-format content, you can even attach a URL to video for side-by-side before/after magic.)
Let’s dig into how texture editing breathes new life into forgotten pixels—and how you can do it, too.

Why texture is the secret sauce of stunning photos
Forget filters for a minute. The real game-changer in photo editing is texture control. Here’s why:
- Texture determines how light plays on your image. Overly smooth = lifeless. Overly sharp = harsh.
- Grain vs. detail. Grain might seem ‘aesthetic’ on purpose, but too much of it drowns facial features and clarity.
- Your brain feels texture. It’s why you can almost ‘sense’ the softness of skin or roughness of denim in a high-quality shot.
Think of texture like seasoning. You don’t want your photo bland—but you definitely don’t want it overspiced either.
Grit happens: Why photos lose quality
Before you revive, you need to understand what you’re reviving from. Common image killers include:
Low-res cameras
Old phones or budget webcams often save photos in lower pixel density, giving you those muddy, undefined edges.
Poor lighting
When light is low or uneven, your camera boosts ISO sensitivity, which adds digital noise to the picture.
Compression overkill
Social platforms compress images to save space. The outcome? loss of brightness, clarity, and small details. Cropped or zoomed-in images
Excessive cropping
Zooming enlarges pixels and textures needlessly, resulting in blur and a loss of clarity. But the good news? These flaws are not permanent. These “broken” pictures are only partially complete when edited with the right program.
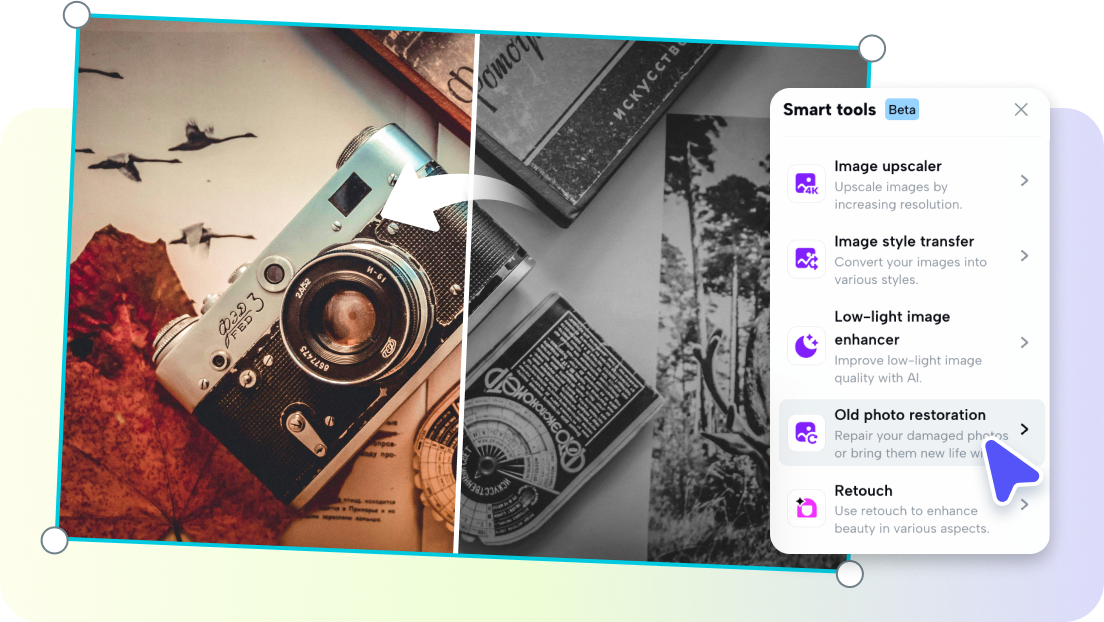
Dusty to brilliant
Things you can correct Let’s see what could be accomplished with the right software, like Pippit:
- Noise reduction: Removes speckled grain while maintaining fine details.
- Clarity boost: Improves midtones and edges without flattening the image.
- Texture sharpening: Highlights the inherent surface details, especially on textiles and skin.
- Face retouching: Smoothes the skin while preserving its human appearance. Colour pop: Brings vitality to faded-out tones.
You don’t need Photoshop mastery. You need good tools and a little taste.
Wait—why not just use filters?
Because filters hide problems. They don’t solve them.
Using filters is like putting sunglasses on a broken window. Sure, it’s stylish. But the cracks are still there. Filters are great after you fix texture, light, and clarity—not instead of.
That’s where Pippit’s image enhancer online tools come in. Think of them as your fixer-upper crew: subtle, smart, and focused on long-term glow-ups—not short-term sparkle.
But first, let’s trim the drama…
If you’re repurposing a series of images or even short video clips into social-ready assets, don’t forget the importance of framing. Using a video trimmer to cut out irrelevant segments or dead space before pairing a polished image with motion helps keep everything snappy and engaging.
Now that you’ve set the tone—let’s enhance the image.
The glow-up begins: How to revive your images with Pippit
Bring out your inner photo wizard with these three clicks to clarity.
Before you go scrambling for advanced tutorials, let’s simplify. Pippit makes it surprisingly easy to turn rough photos into scroll-stoppers. Here’s how:
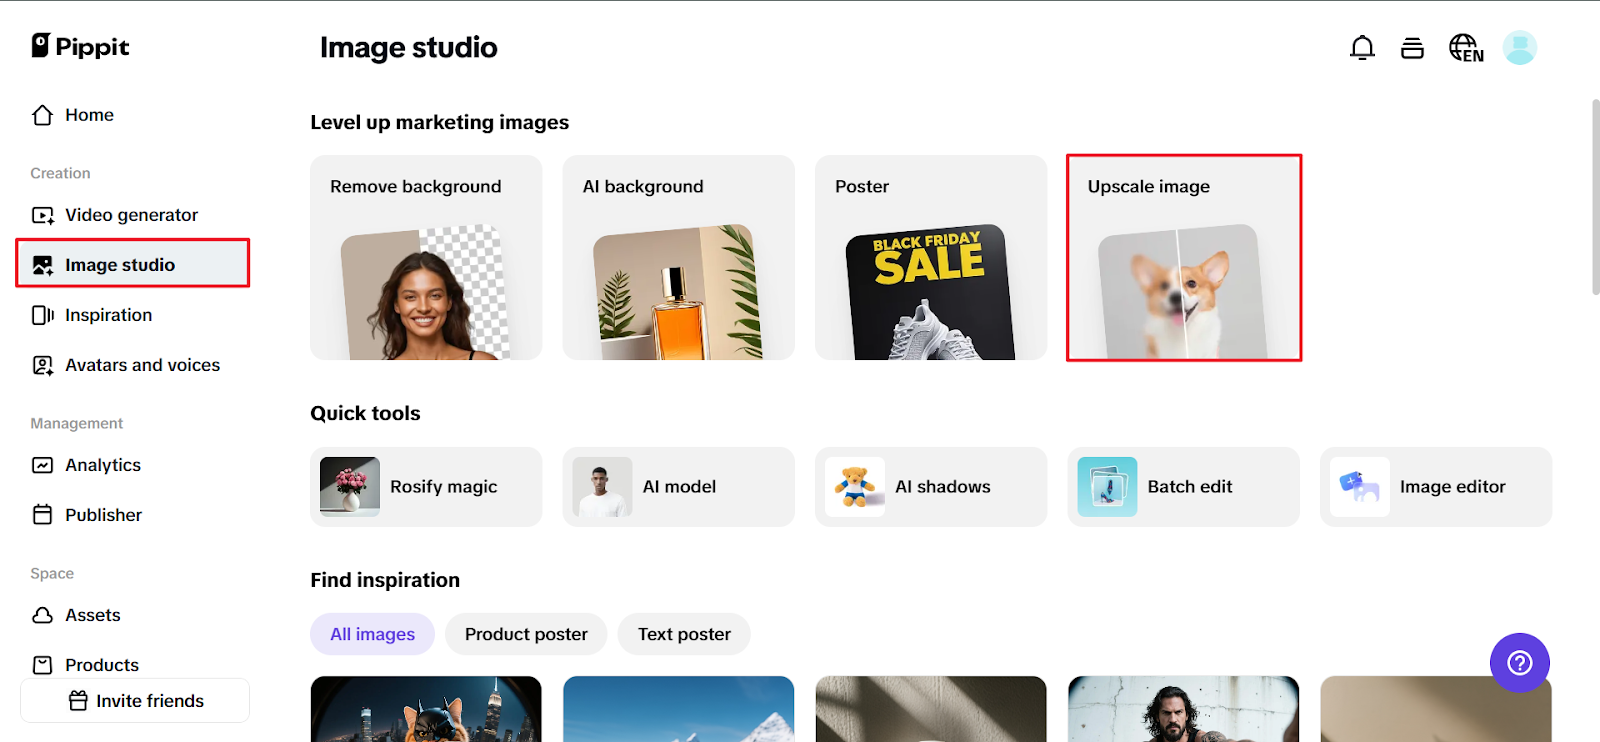
Step 1: Upload the ghosts in your camera roll
Open Pippit, sign in, and head to the Image Studio. Click ‘Upscale Image’ and upload any image from your device—even the tragic ones. You’re about to work magic.
Step 2: Add the magic touch (or a few)
Once your image is uploaded, Pippit gives you a full menu of tricks:
- Retouch: Smooth skin, brighten eyes, and clean up blemishes without going uncanny.
- Image enhancer: Fix dim or overly bright areas and sharpen edges.
- Effects & filters: Add tonal effects or texture overlays without hiding the original detail.
- Collage and stickers: For those social or campaign-ready layouts, add shapes, text, or fun graphics.
Want something sharp enough to frame but natural enough to feel candid? You’ve got full control.
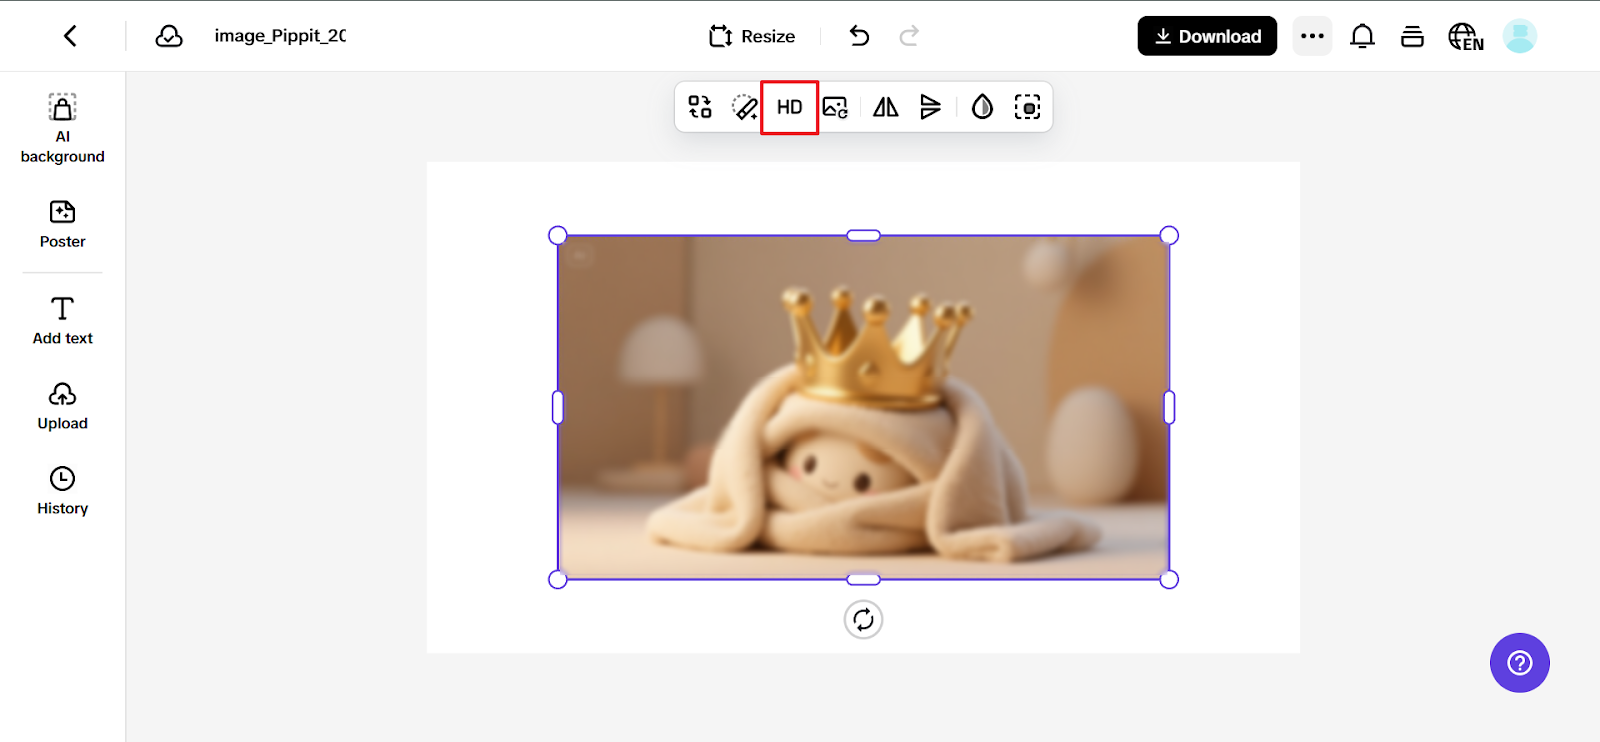
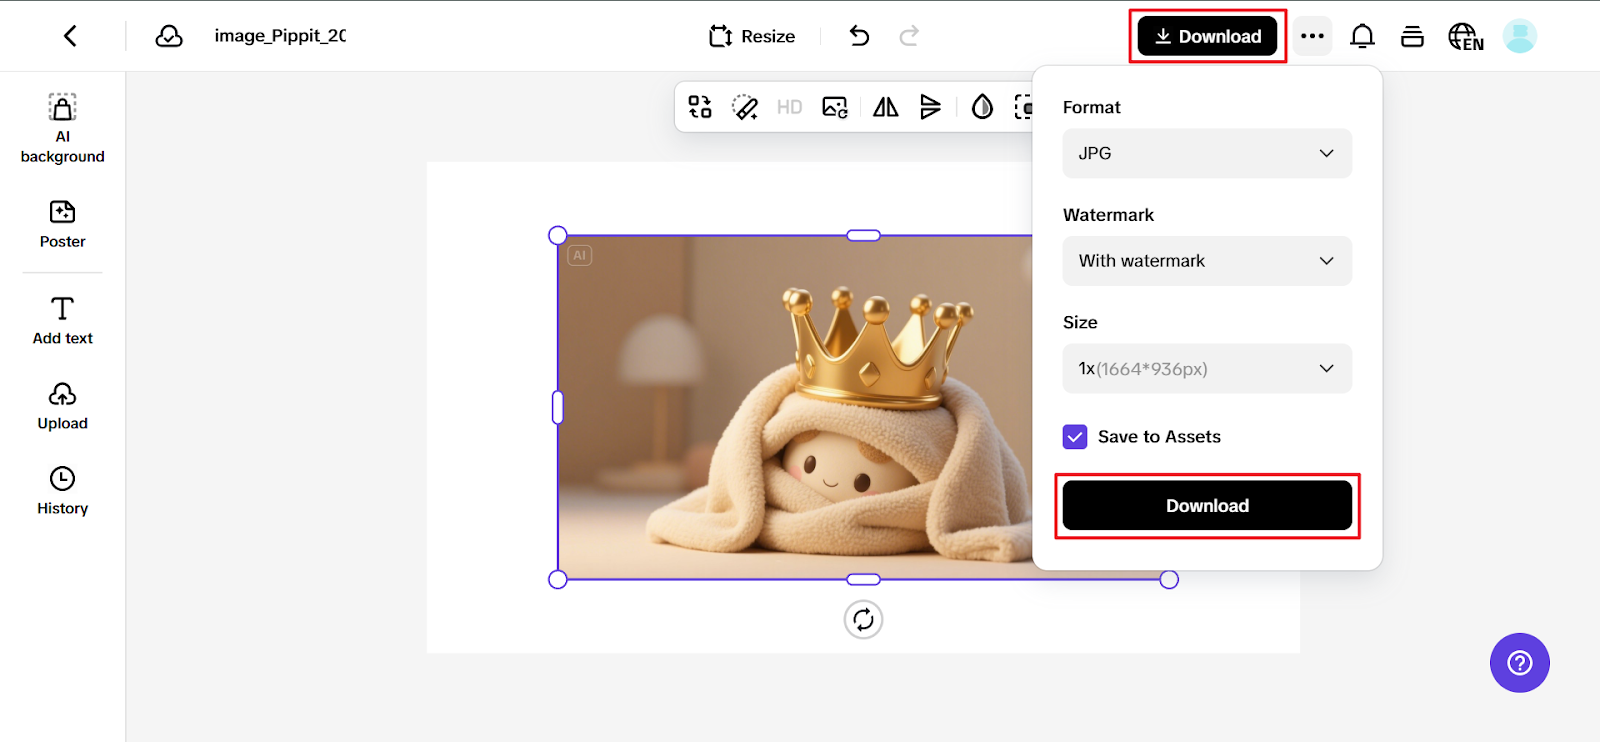
Step 3: Download and brag (just a little)
Click Download in the top corner, choose your size and format, and hit export. Whether it’s for Instagram, a digital ad campaign, or grandma’s birthday slideshow—your image now glows.
The unexpected bonus: Emotion comes through
One of the biggest surprises of enhancing old or damaged photos? Emotional clarity.
You’ll start seeing details you forgot were there—creases in a smile, glints in the eye, textures of places you loved. Texture editing doesn’t just improve quality—it reconnects meaning.
And for brands, this is huge. A throwback campaign with revived photos feels more nostalgic. A product close-up with perfect sharpness feels more premium. A customer story paired with cleaned-up visuals feels more real.
The final crop: From forgotten to frame-worthy
No picture is unsalvageable. With the correct care, imagination, and resources, even the dreariest, most gloomy ones can be brought back to life.
You don’t require hours of adjusting or sophisticated editing skills to use Pippit. With a few well-considered changes, your image will come back to life.
And if you’re planning to pair these visuals with movement or storytelling, don’t sleep on how a video ad maker like Pippit keeps the whole vibe consistent from image to animation.


